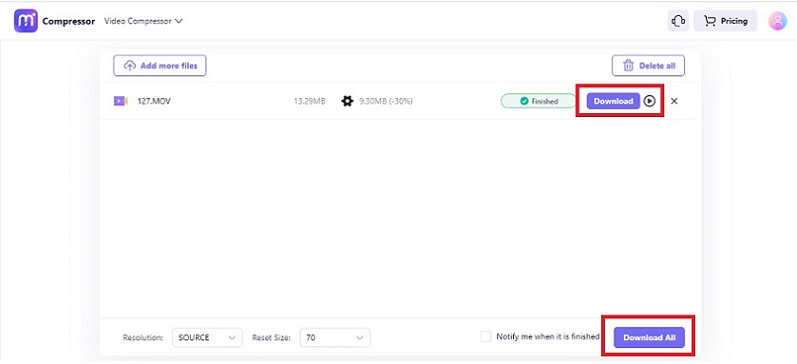
Compressing video is an essential step in optimizing your files for different purposes. Large videos take up much storage space and are challenging to share or upload online. Compressing videos with tools such as HandBrake significantly reduces their size without compromising the quality of the content. It also ensures compatibility across different devices and platforms. It consumes less bandwidth when streaming or sharing over the internet.
Using HandBrake to compress video sizes allows you a lot of benefits you can immediately take advantage of. They include various video formats, customization options, and a fast compression speed. In this guide, you will learn how to compress videos using HandBrake. It gives you the step-by-step process of compressing videos for faster upload and sharing. Explore the page below to learn more.
In this article
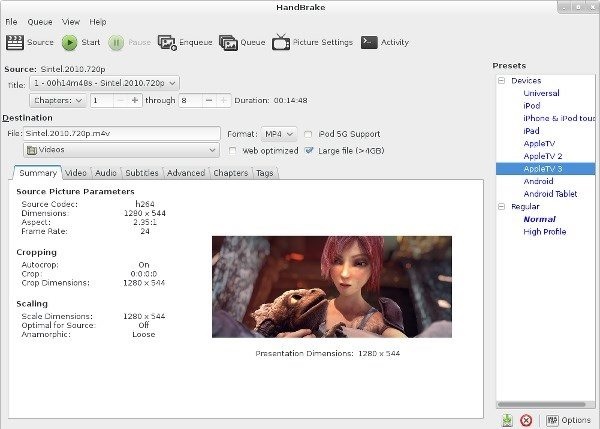
Part 1. What is HandBrake?
Handbrake was initially developed for Mac. But it is now available for Windows and Linux due to its popularity. The tool is a free and open-source video compression software. It allows users to compress and convert videos into different formats.
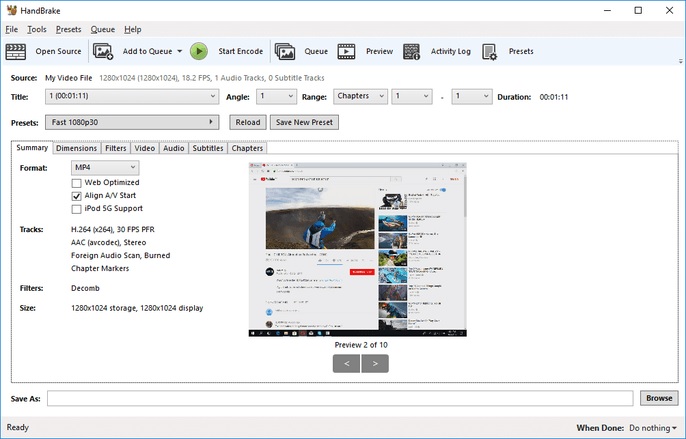
HandBrake supports various formats, including MP4, MKV, and WebM. The software also includes advanced features such as batch encoding, video filters, and chapter markers. HandBrake is a popular choice because of its ease of use, flexibility, and open-source nature.
Part 2. How Can HandBrake Help You Compress Videos?
Handbrake provides a wide range of options and settings, allowing you to compress videos in a way that best fits your needs. Whether reducing the file size for easier sharing or optimizing the video for a specific device, HandBrake has the right tools at your disposal.
How To Compress Videos Using HandBrake
Here is how HandBrake reduces the file sizes of your videos. Follow the step-by-step guide below to learn how.
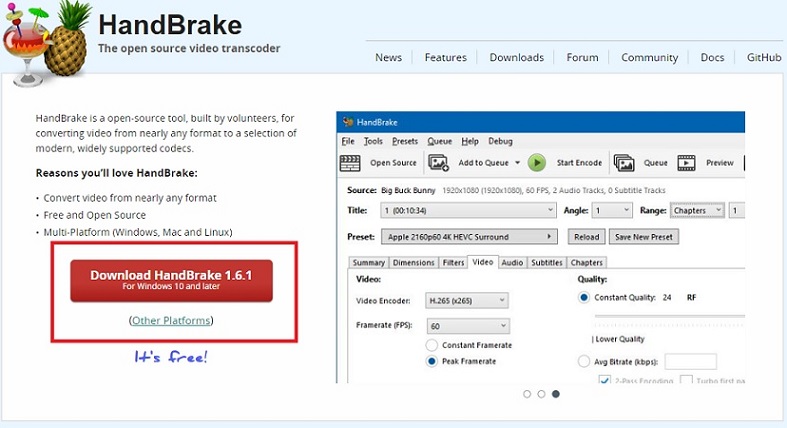
Step 1: Download and install HandBrake. Once the installation is complete, launch the program.
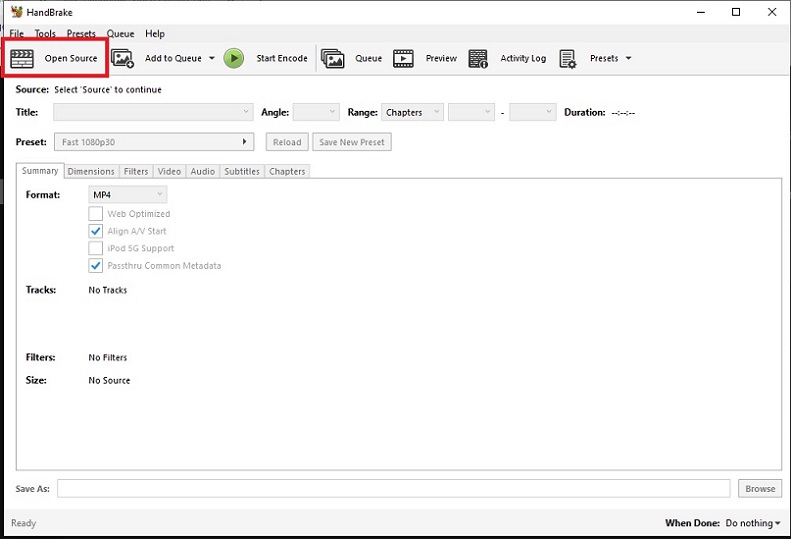
Step 2: Add your video by clicking on the Open Source button in the top-left corner of the window. Select the video file you want to compress. Next, choose the output format for your compressed video between MP4, MKV, and WebM.
Step 3: Adjust the resolution, framerate, and bitrate under the Video tab. You can also adjust the audio settings under the Audio tab.
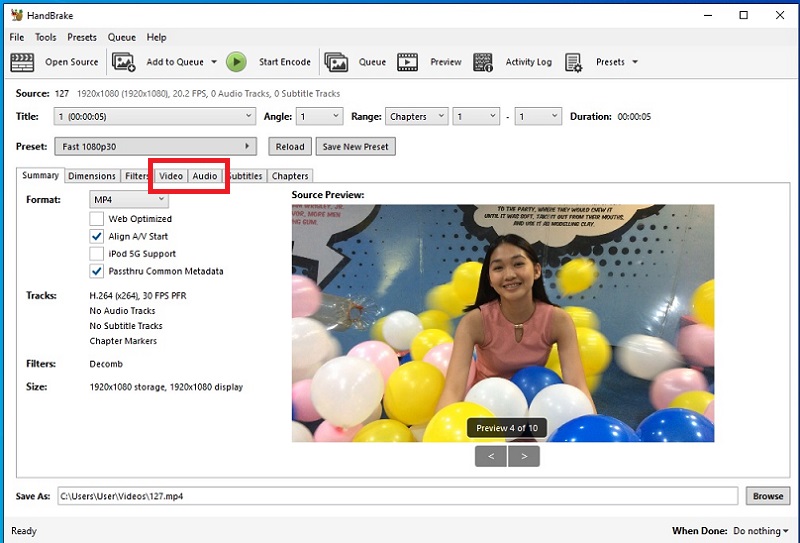
Step 4: Click on the Preview button to preview your compressed video. Once you are satisfied with the settings, click the Start Encode button to start the compression process. When the compression process is complete, click on the Browse button to select the location where you want to save your compressed video.
Part 3. Tips for Successful Video Compression With HandBrake
Choosing the proper settings for your video significantly impacts the quality of your compressed files. The output file size and quality are also essential, especially when considering your storage space. If you have multiple videos, it’s possible to compress them with batch processing, provided you have the time.
Here are some things to remember when using HandBrake as your video compressor tool.
A. Choosing the Right Settings for Your Specific Video
Having the correct settings on your media ensures your video is compatible across all platforms.
- Determine the purpose of your video. If you’re compressing a video for online sharing, you may choose a lower resolution and bitrate to ensure faster upload and download times. Meanwhile, choose higher-quality settings if you’re compressing a video for personal use.
- Adjust the audio settings. Besides the video settings, consider adjusting the audio settings. Choose the right audio codec and bitrate for your specific needs.
B. Checking the Output File Size and Quality
The overall file size and quality of your videos are important as well. Compressing videos doesn’t mean you’re sacrificing the resolution.
- Adjust the video resolution. Consider choosing a lower resolution to reduce the file size if you don’t need your video to be in HD.
- The right output format. HandBrake offers a variety of output formats, including MP4, MKV, and WebM. Choose the format that works best for your specific needs.
- Adjust the video bitrate. Lowering the bitrate can help reduce the file size but also affect the video’s quality. Experiment with different bitrates to find the right balance between file size and video quality.
C. Using Batch Processing To Compress Multiple Videos at Once
Batch processing can be resource-intensive, so monitoring your computer’s resources while the process is running is important. Creating a preset with your desired compression settings saves you time and effort when compressing multiple videos.
However, it’s a good idea to test your settings on a single video to ensure the output quality meets your expectations before compressing multiple videos. Lastly, since batch processing can take a long time, avoid interrupting it once the compression has started.
Bonus Tips – The Best Handbrake Alternative To Compress Video
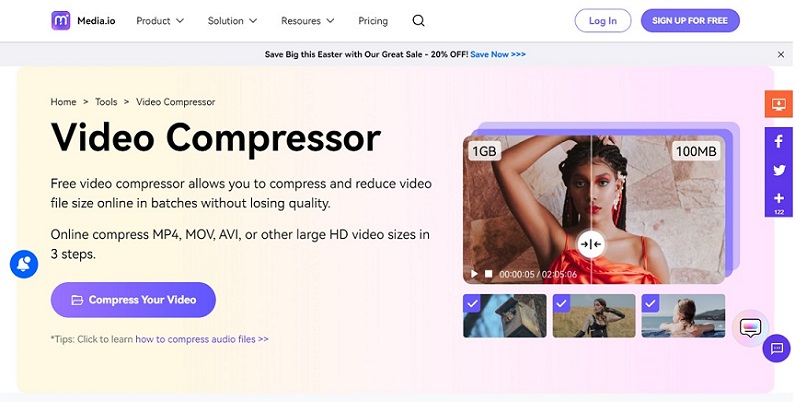
While HandBrake is helpful in many ways, it has to be downloaded and installed on your computer. If you’re looking for the best alternative to compress videos online, using Media.io - Video Compressor is the way to go.
An Introduction of Media.io – Video Compressor
Media.io – Video Compressor is a web-based software. It is a free video compressor tool to reduce the size of your video files without compromising quality. It allows you to customize various parameters such as resolution, bitrate, and file size to suit your needs. Additionally, Media.io – Video Compressor can run on any device with an internet connection making it convenient for users to compress their videos on the go.
Key Features of Media.io – Video Compressor
Media.io – Video Compressor has some of the most outstanding features for an online tool. Here are its key features.
- No Watermark and No File Limits
Media.io – Video Compressor does not add watermarks when reducing your video’s file sizes. You can also shrink without any quantity limit after signing up.
- Completely Web-based Without any Software or App Download
The video compressor can be accessed from any web browser without installing any software or plugins.
- Support for Multiple Video Formats and Video Resolution
The tool supports a wide range of video formats, including MP4, AVI, WMV, MOV, and more. In addition, Media.io – Video Compressor allows you to compress your videos online n any resolution, including 1080p, 720p, 480p, 360p, 240p, and other non-standard options.
- Easy-to-use Interface
Media.io – Video Compressor uses a simple, user-friendly interface that allows users to compress their videos quickly and easily.
- Fast Compression Speed
Media.io – Video Compressor uses high-speed servers to compress videos, allowing users to save time quickly.
How To Compress Videos Using Media.io – Video Compressor
Follow the step-by-step guide below to start compressing your videos using Media.io – Video Compressor.
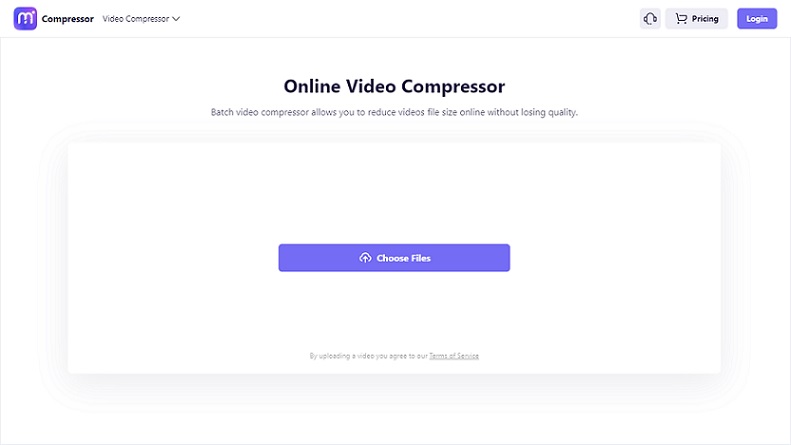
Step 1: Go to Media.io – Video Compressor and click the Choose Files button to start.
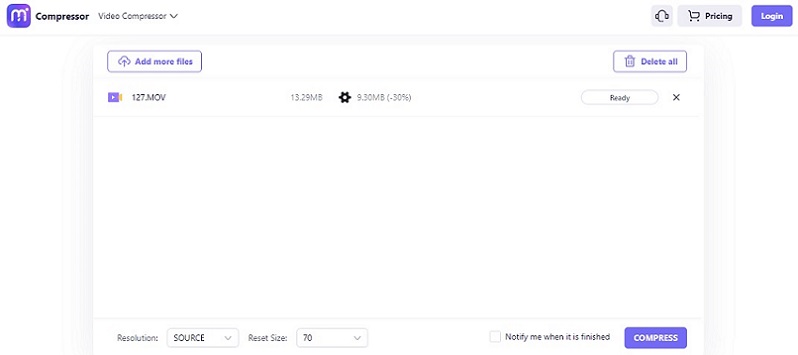
Step 2: Once the file is uploaded, customize the video by changing the Resolution and Reset Size depending on your preference. After customizing the compression settings, click the COMPRESS button to start the compression process.
Step 3: Wait for the compression process to complete. Once the compression is complete, you can download the compressed video by clicking the Download button. If you want to compress more videos, you can repeat the process by clicking on the Add more files button again.
