While resizing images for quick upload and sharing, it is important to preserve the image quality and for this, the use of right resizing tools becomes necessary. Pixlr is one such tool that can be considered for your image resizing requirements. You are reading on the right page to know about Pixlr image resizing function.
Part 1. Steps to Resize Images in Pixlr
Pixlr is a popular tool among the image editors owing to its user-friendly interface and quick process. Free to use, this is a cloud-based editing program that is available in two online versions called PIXLE X and PIXLR E that are designed for the basic and pro users respectively. Depending on your requirements, you can use any version of the tool. All popular formats like JPG, PNG, WebP, SVG, and others are supported by the program. Pixlr resize layer as well if required.
Steps on how to resize an image in Pixlr without losing quality
Step 1: Open https://pixlr.com/editor/ on your system and launch from the PIXLE X or E tool as needed.
Step 2: Click on the OPEN IMAGE button to browse and add the file to be resized.

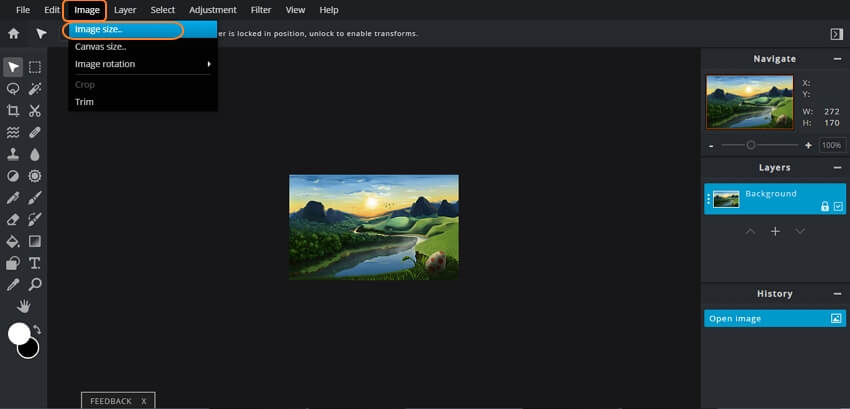
Step 3: From the top menu bar open Image > Image Size.

Step 4: A new Resize Image window will open from where select the desired file size. Select the Constrain proportions button to maintain the aspect ratio. Click on the Apply button. Other editing functions can be used from the left-side panel of the interface.
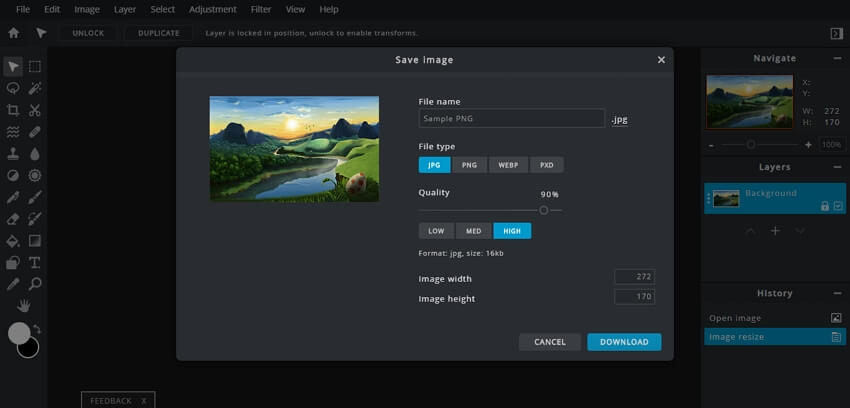
Step 5: Open File > Save and a Save Image dialog box will appear. Here choose the file name, format, and quality. Hit on the Download button and the pixlr resize function will start and the resized file will be downloaded to your system.

Part 2. Pixlr Alternative to Resize Images Free Online
A good alternative to Pixlr for resizing your images is Wondershare Online UniConverter. This browser-based tool can work with your Windows and Mac and supports JPG, PNG, BMP, and GIF files for the process. You can resize your files by mentioning the height and width or by selecting the percentage of the size in comparison to the original file. 5 images of up to 5 MB each can be resized at a time using the tool and in addition to the local system, you can also save the resized images to the Dropbox.
Steps to resize images using Online UniConverter
Step 1: Run Image Resize and to open the images click on the + sign
Step 2: Choose the target file size by specifying the width and the height or by the percentage
Step 3: Hit on the Start button to start file resizing
Both tools are popular for image resizing. You can use Pixlr image resize when other image editing functions are also required. For batch processing, Online UniConverter works as a good tool to be considered that is not only simple but quick as well.

