As a professional or amateur video editor, if you’re looking for easy solutions for fast MPEG cut, you are at the right place. Here you will learn about some of the commonly used online and offline tools/programs that are not only quick and efficient in editing video files but also have an intuitive interface that doesn’t require in-depth technical skills to work on.
Part 1: Online Video Trimmers Recommendation---Trim MPEG Video
Talking about online solutions, many websites allow you to trim your MPEG files with ease. To do so, you can either upload the videos from your local hard drive or locate them via their URL, or from your Google Drive or Dropbox account.
However, since you are required to upload your content to the third-party servers, and the site owners get access to your data, you are strongly advised to go through their terms, and privacy policies carefully and thoroughly before accepting them and uploading your videos.
Here are a few sites you can use to trim MPEG video files:
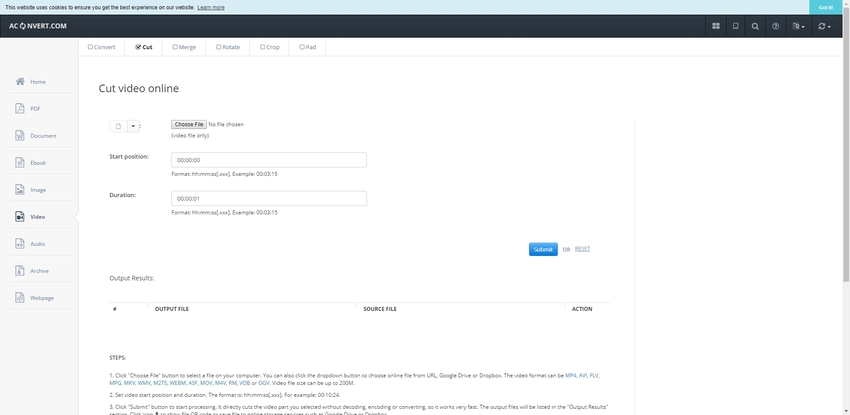
AConvert
URL: https://www.aconvert.com/video/split/
AConvert lets you pick MPEG videos from your local computer or any of your Cloud accounts or the original URL, lets you trim, split, and/or convert them as per your preference. In addition to this, the site also allows you to convert PDF files, images, Word documents, audio files, eBooks, etc. to their compatible formats.

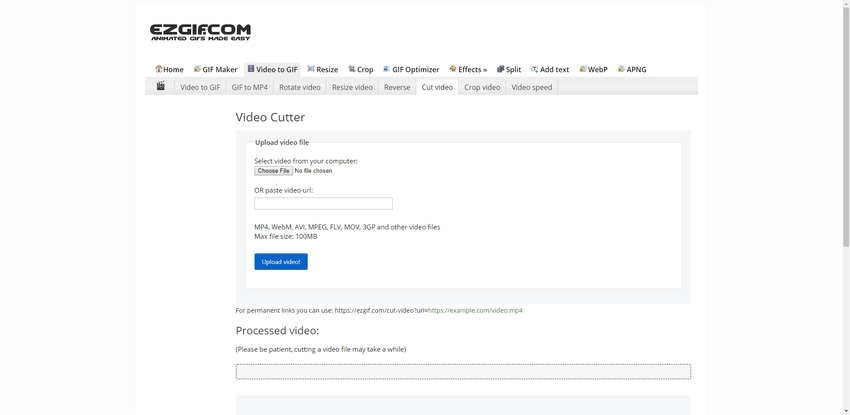
EZGIF
URL: https://ezgif.com/cut-video
This free online platform is dedicated only to video editing solutions to its entirety. Apart from trimming MPEG files, you can also add effects or text to the videos, and can adjust the screen size and aspect ratio for the final output.
Converting videos to GIF, reversing the GIFs, censoring the GIF files, etc. are some other things that EZGIF allows you to do with your video files.

Online UniConverter
URL: https://www.media.io/video-editor.html
This online solution from Wondershare is the most comfortable MPEG video trimmer among all. The best part is, your source videos are safe with them, and as per their Privacy Policy, all the files that you upload are automatically deleted from their server after a couple of hours post-editing. Because of the intuitive interface and their server efficiency, the entire trimming process is comparatively fast and hassle-free.
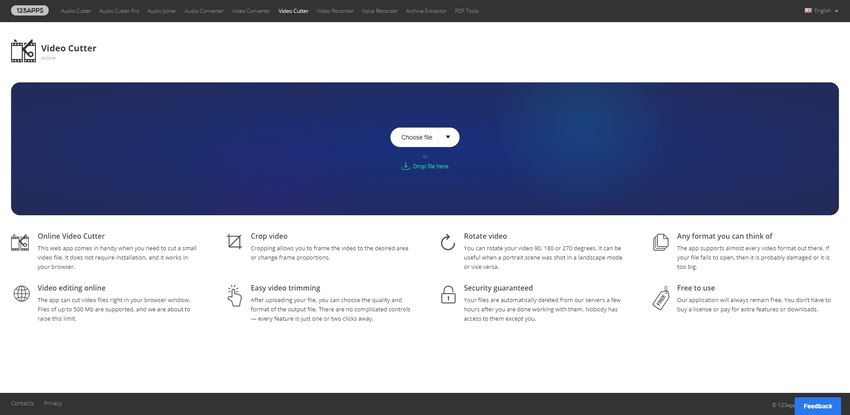
Online Video Cutter
URL: https://online-video-cutter.com/
Solution by 123APPS, Online Video Cutter is yet another video editing tool. The website not only allows you to trim your footages, but it also lets you create your own videos with the Video Recorder feature. The platform supports almost all video formats, and allows you to trim, crop, convert or resize the videos according to your needs and preferences. You can either drag and drop your source files on the main page or choose one from your Google Drive or Dropbox and start working on them right away.

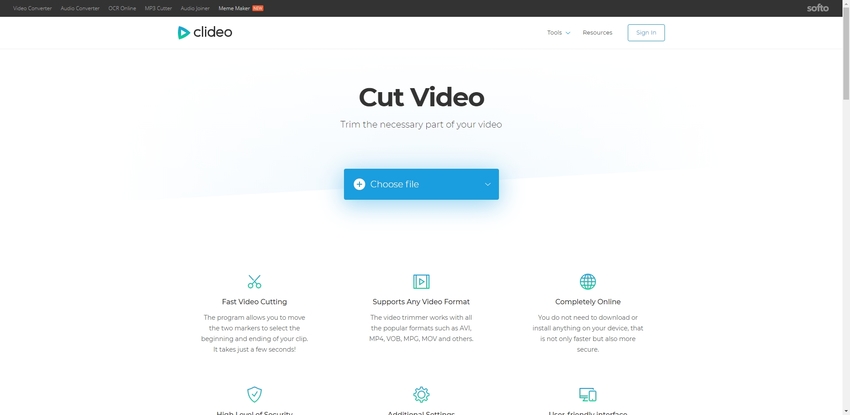
Clideo
URL: https://clideo.com/cut-video
Developed by Clideo, Cut Video has a clean and intuitive interface that lets you pick your source MPEG file right from its main page using its drag-and-drop feature, pasting its URL, or selecting from your Google Drive or Dropbox folder. Once the source file is uploaded/selected, you can trim the video as needed.

Part 2: MPEG Trimmer Software Free Download
Although the online solutions can serve your purpose pretty well if you’re looking for a fast and easy MPEG video trimmer, considering the amount of Internet bandwidth the entire process consumes, and the limited control over the editing features such platforms offer, many users prefer using an offline video editing tool over online solutions.
Even though there are many offline video editing tools available in the market, Wondershare UniConverter is by far the best and most appreciated MPEG trimmer free download solution.
- · Built-in Converter – A feature that lets you convert your video footages from one format to another, e.g., from MPEG to MP4, AVI to MP4, AVI to MPEG, etc.
- · Built-in Streaming Video Downloader – This feature lets you download videos from popular streaming websites like YouTube, Vimeo, etc. as long their contents are not DRM protected.
- · Built-in Screen Recorder – Lets you record all the activities that take place on your computer screen. The recorded videos can then be edited and rendered for distribution. This feature comes in handy for demonstration and training purposes.
- · Built-in Burner – Allows you to burn the videos to a DVD or an ISO file.
- · Built-in Video Compressor – Enables you to compress the video files to reduce their size without degrading the quality.
Wondershare UniConverter Pros:
- Multi-Format Support – The program supports almost all video formats.
- Cross-Platform Transferability – Videos can be transferred to camcorders, iOS, and Android devices seamlessly.
- VR Converter – Allows you to convert your videos to Virtual Reality (VR) platform to give you ultimate VR experience.
Step-by-Step Guide to Trim MPEG Video Using Wondershare UniConverter
Step 1. Obtain Wondershare UniConverter
Launch your favorite web browser, go to https://videoconverter.wondershare.com/, download a compatible version of Wondershare UniConverter for your Windows or Mac computer, double-click the downloaded installation file, and follow the on-screen instructions to install the program on your PC. You may also want to add a shortcut to your Desktop for easy accessibility.
Step 2. Launch Wondershare UniConverter
Double-click the program’s shortcut icon from the Desktop or launch it from the Start menu (in Windows 10). Upon successful initialization, make sure that the Convert option is selected from the top and that you can access its interface.
Step 3. Add Source Media
Click Add Files from the top-left corner of the interface, use the Open box to locate and select the MPEG file you want to trim, and click Open to add the selected MPEG file to the work area. Here you can review all the details about the file such as its total length, current format, size, etc.
Step 4. Get to Trim Mode
Click the Scissor (Trim) icon under the thumbnail of the video file you just imported. Notice that Wondershare UniConverter opens another window with all the tools and options required to trim the video.
Step 5. Trim the Beginning of the Footage
Position the playhead on the timeline you want to trim the video from, click Cut, and then click Delete to remove the selected clip from the timeline. Notice that the entire video footage automatically moves to the beginning of the timeline.
Step 6. Trim the End of the Footage
Position the playhead near the end of the video on the timeline, i.e. where you want the video to finish, note the exact time the playhead is placed on and drag the clip handle to the location (time duration) you placed the playhead on. Optionally, you can click the Play button to preview the output before finally saving the changes.
Step 7. Save and Return
Click the OK button. Notice that Wondershare UniConverter takes you back to the main interface, and the new duration of the trimmed video is shown in the right section.
Step 8. Select Output Format (Optional)
Click the Output Format drop-down list, select a video format from the left section, and select the quality of the video from the right. This step is optional as the default video format is set to MP4 that is widely used and is compatible with almost all media players. That said, unless there is any specific need to pick a different video format and/or quality, you are encouraged to leave the default one selected.
Step 9. Select Output Folder (Optional)
Click the Folder icon next to the File Location field from the bottom and choose the preferred folder you want the converted files to save to. You can safely ignore this step if you are happy with the currently selected output folder.
Step 10. Produce File
Click the Convert and wait while Wondershare UniConverter completes the process.
Here is Wondershare UniConverter free download place-Windows or Mac. Download it to edit your MEPG video files now.
Summary
Regardless of the MEPG video trimming tool you choose, offline or online, having basic understanding of video resolution types, aspect ratio, formats, frames, and frames per second (FPS) can help you choose the right options to get the output quality you desire.

